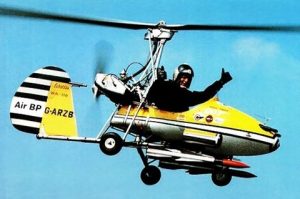
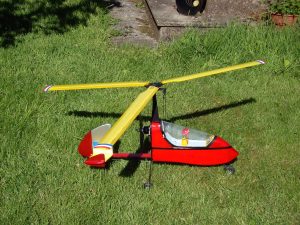
Joe continues to build. This time an auto-gyro called Little Nelly that I remember being a futuristic little craft with rocket launchers in ‘You Only Live Twice’ so I have added a shot from the film to the photos Joe sent me.

Joe continues to build. This time an auto-gyro called Little Nelly that I remember being a futuristic little craft with rocket launchers in ‘You Only Live Twice’ so I have added a shot from the film to the photos Joe sent me.
I had a very close encounter with a deer racing across the B??? road between the duel carriageway and L.H this morning. I just managed to accelerate enough that it passed the boot by a very short margin. When they go, there is virtually no time to react so I felt very lucky.
I wonder if the lack of humans and traffic has made them much braver and they have started to reclaim the road for there own territory.
Robert
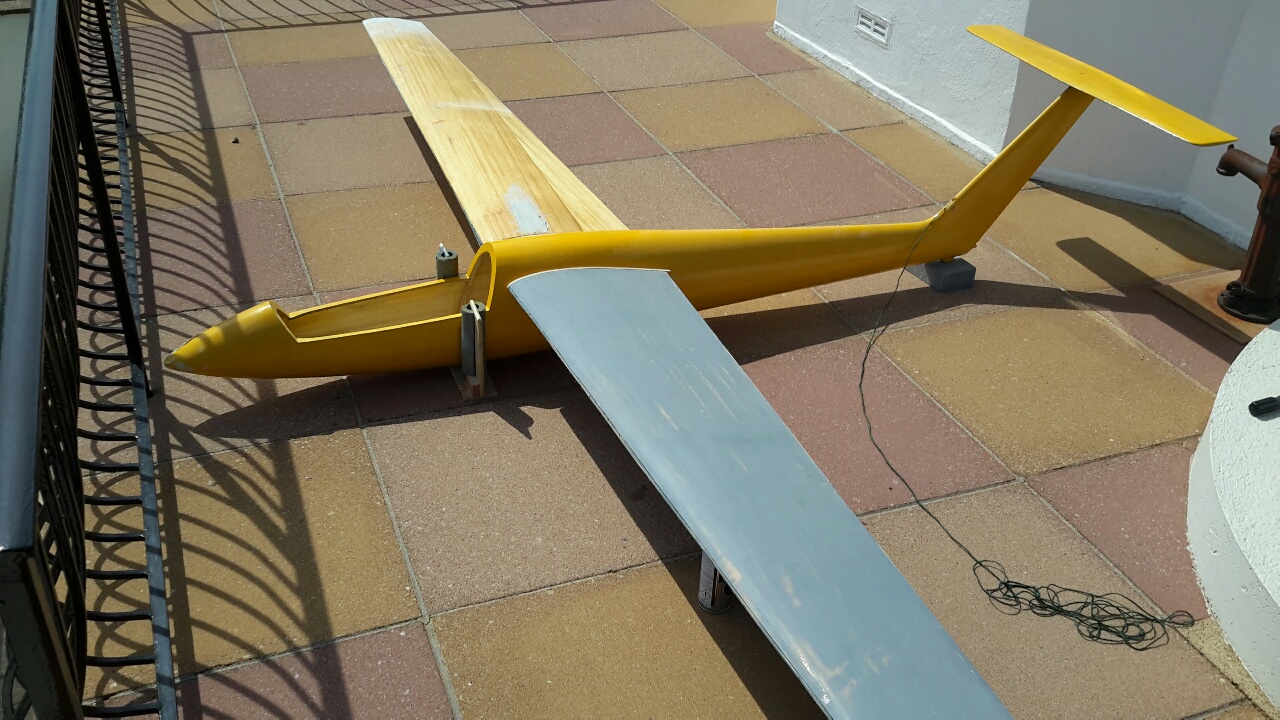
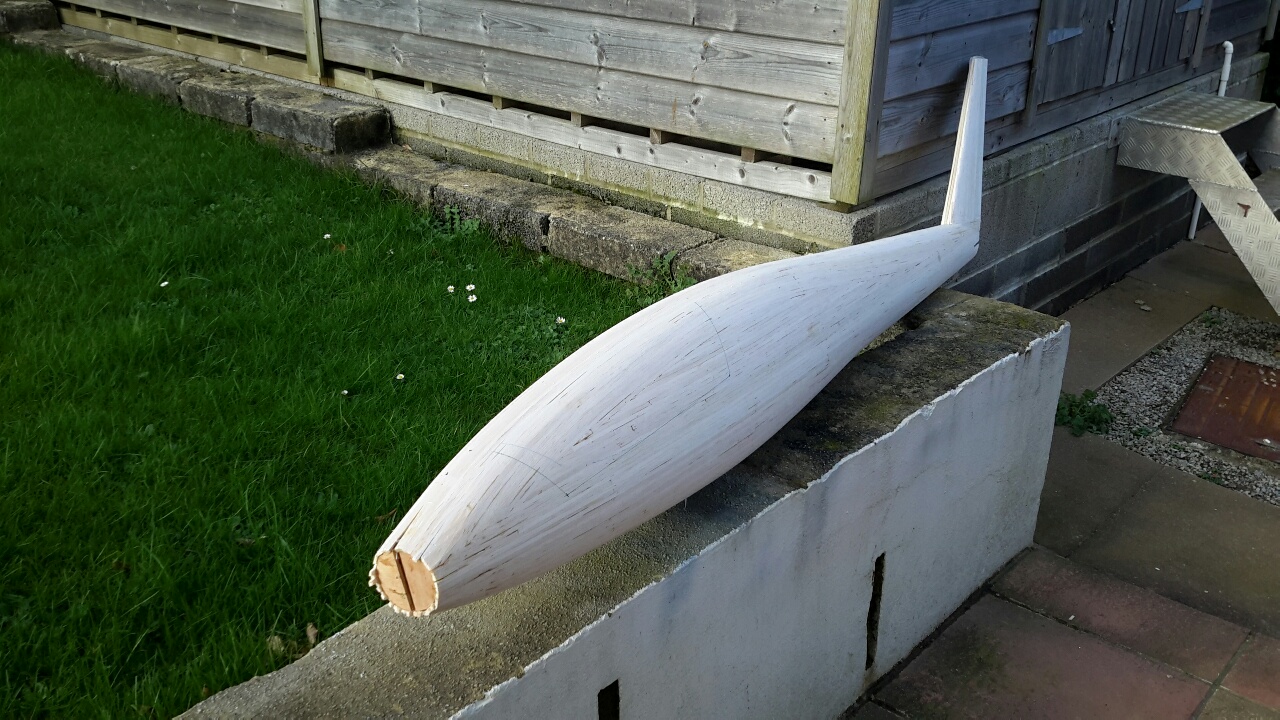
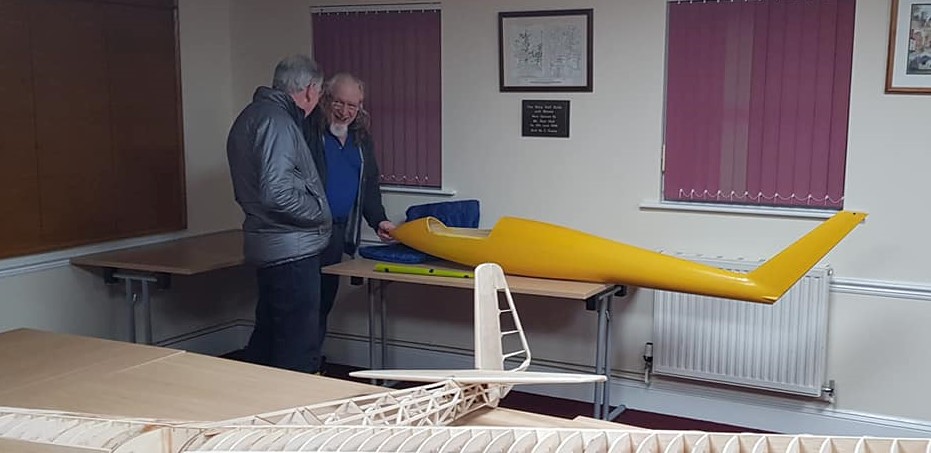
A further update from Chris. Its looking impressive Chris, I don’t think that you would want to use my patio as a grid reference though – unless you are building a banana. I look forward to your Maiden this summer
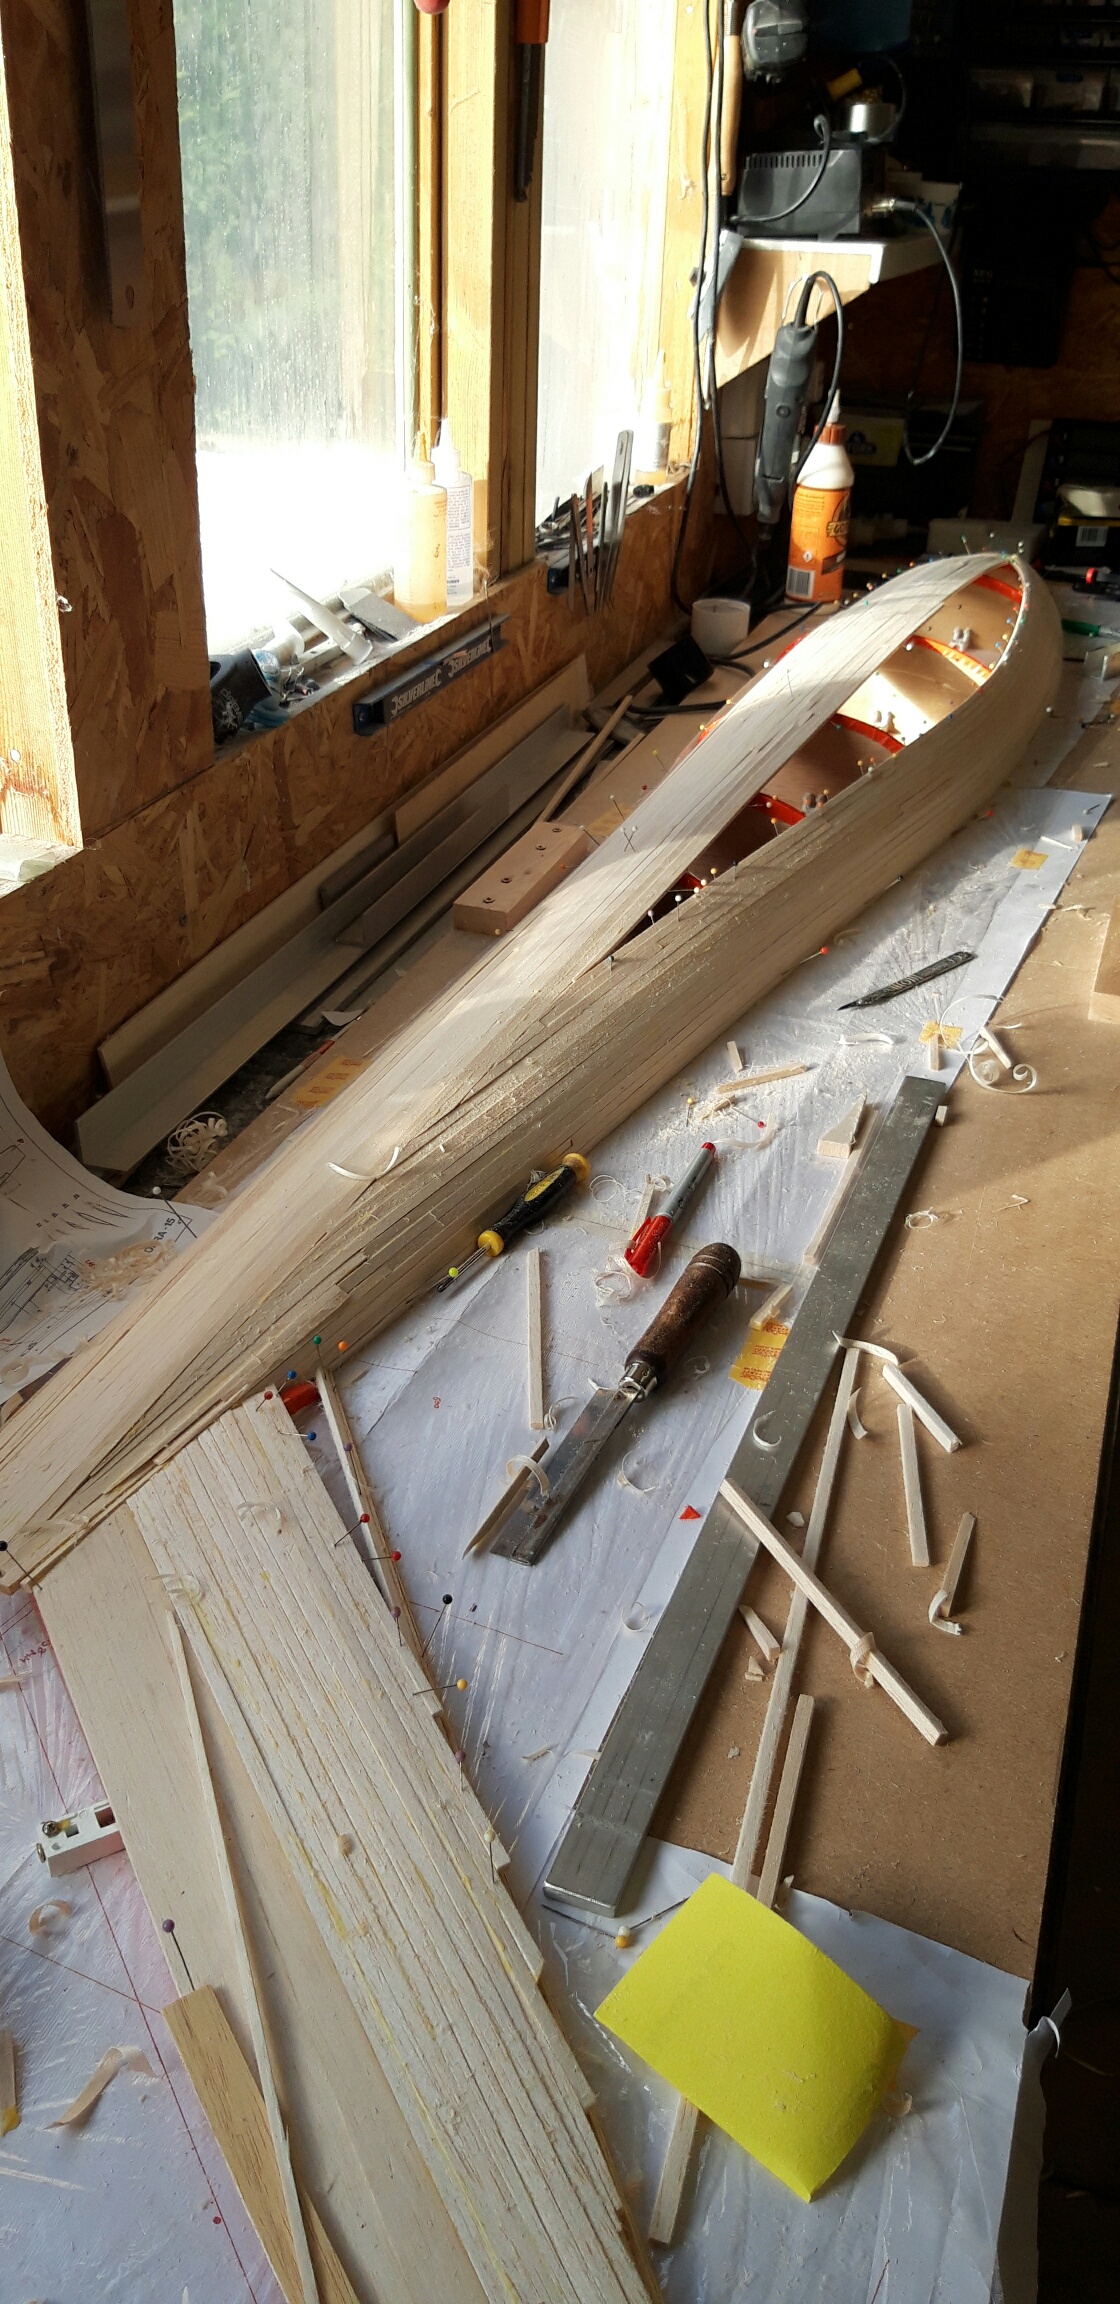
It’s been awhile since my last post, but still building but once the wings come out of the vac-bag, things slow down a bit.
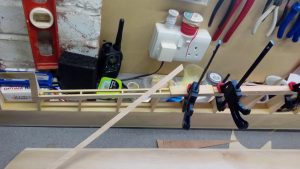
After the wings were done the next thing to do is fit the wing joiner tube in the fuz. This has to be in the right place, using the patio slabs as a grid ref, a piece of string taped to the fin, and a tape measure. After the fuz is square, the wings can be put on and moved until everything lines up; the joiner tube is tack glued to the fuz, with the wings removed, the tube was fully glued to the fuz. The wing roots are then placed over the joiner, the wings refitted, and the roots lined up, and glued in place, balsa infills were glued into the gap, then topped with filler.
1/4″ ply was cut to form the cockpit frame. This was glued in place, then glassed, small magnets where glued in to retain the canopy. With the cockpit frame done, the canopy frame could be made. This was made from 1/4″ ply base then 3/16″sq was added to give a bigger gluing area for the canopy.
Chris
The full build is here 


BMFA have just issued this brief bulletin and intend to issue further guidance soon.
*** IMPORTANT UPDATE – PLEASE READ ***
A Return To The Skies
First and foremost, we would like to thank members for adhering to the government guidelines during the lockdown.
As many of you are no doubt aware, the Prime Minister indicated in his speech last night that there will be some ‘relaxation’ of the current restrictions and that from Wednesday it will be possible to leave home and drive somewhere to participate in a sporting activity (provided it is with members of your own household).
Our hope it that this will permit the resumption of some model flying activity subject to compliance with certain guidelines and social distancing.
We await the publication of further details/clarification today and will issue further detailed guidance to members once we have had an opportunity to review this information.
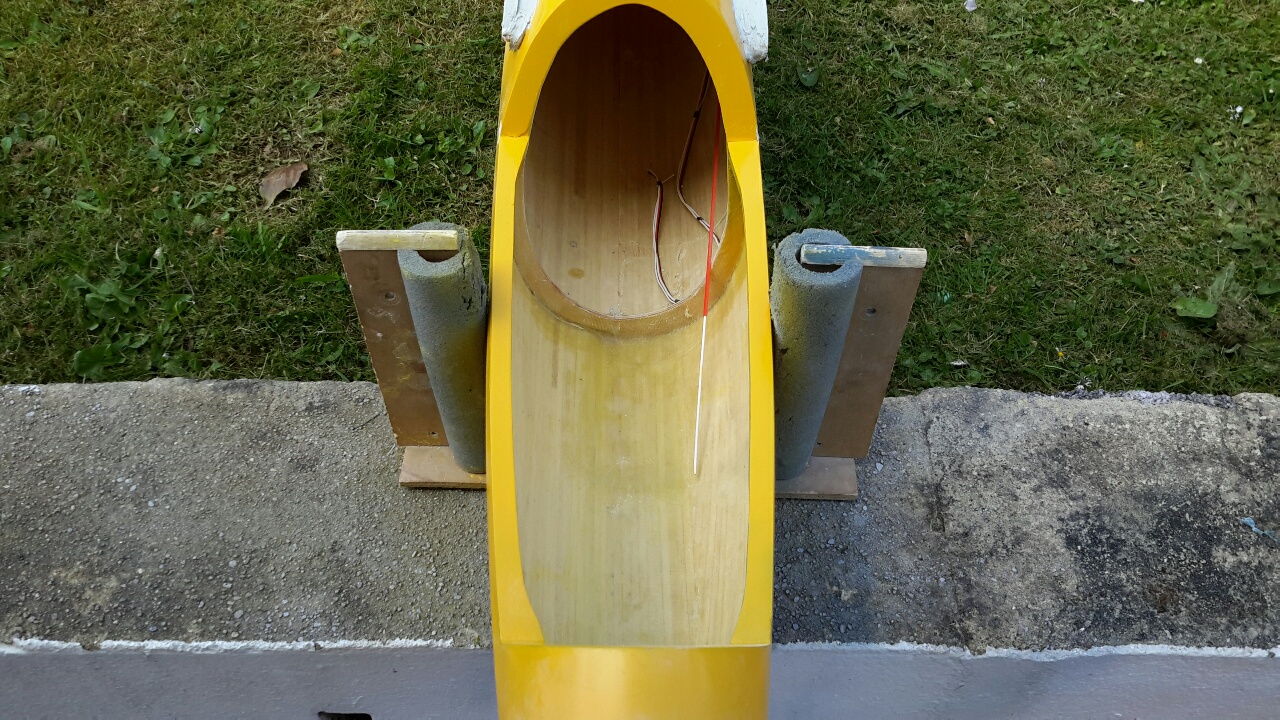
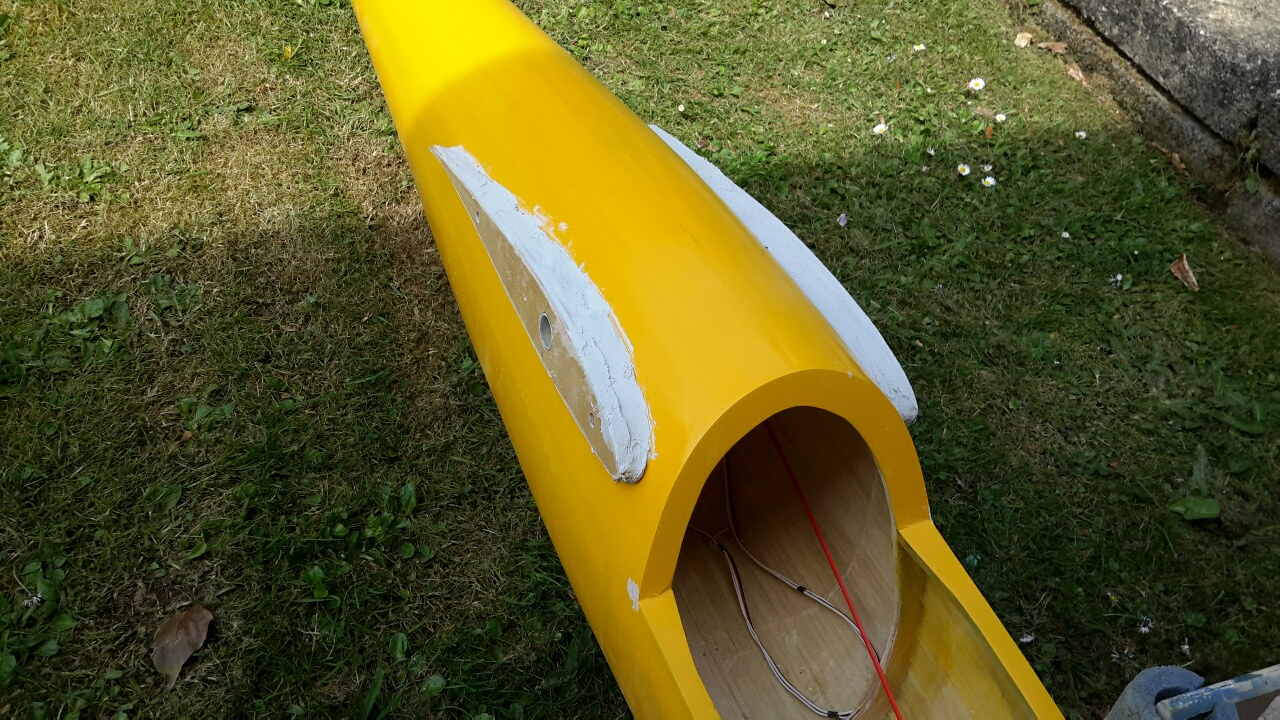
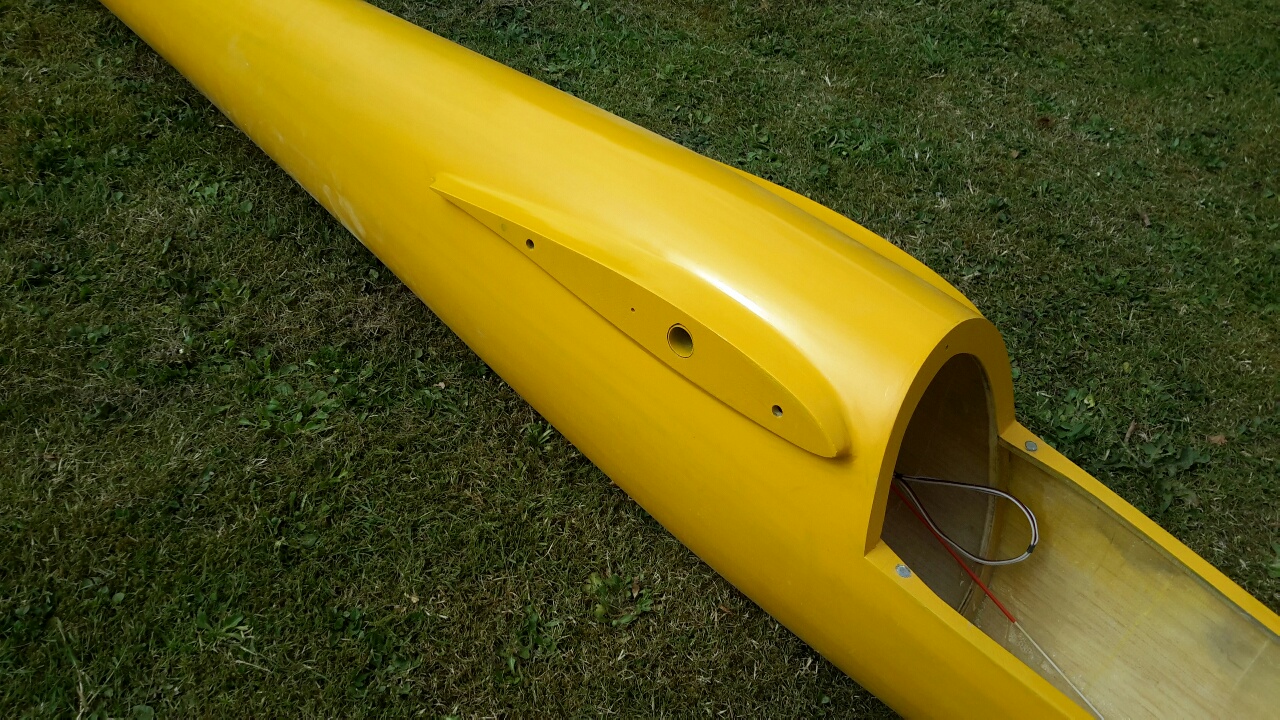
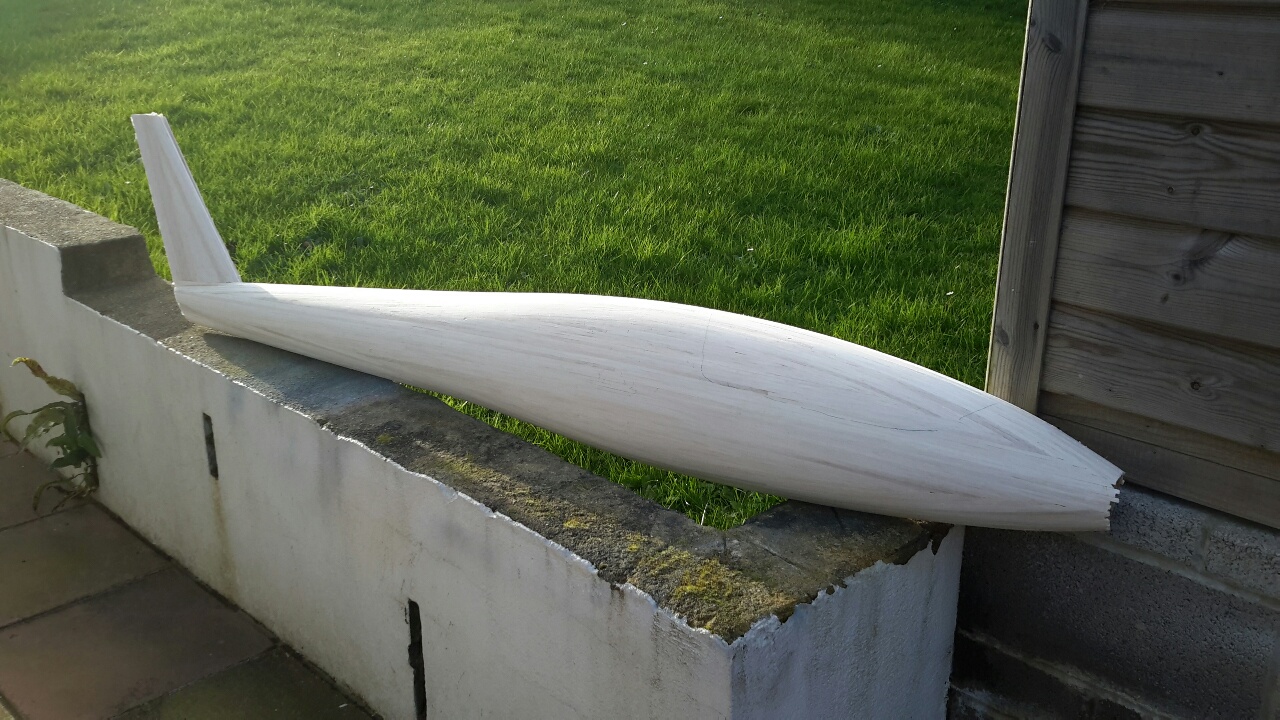
Some more intriguing photo’s from Chris
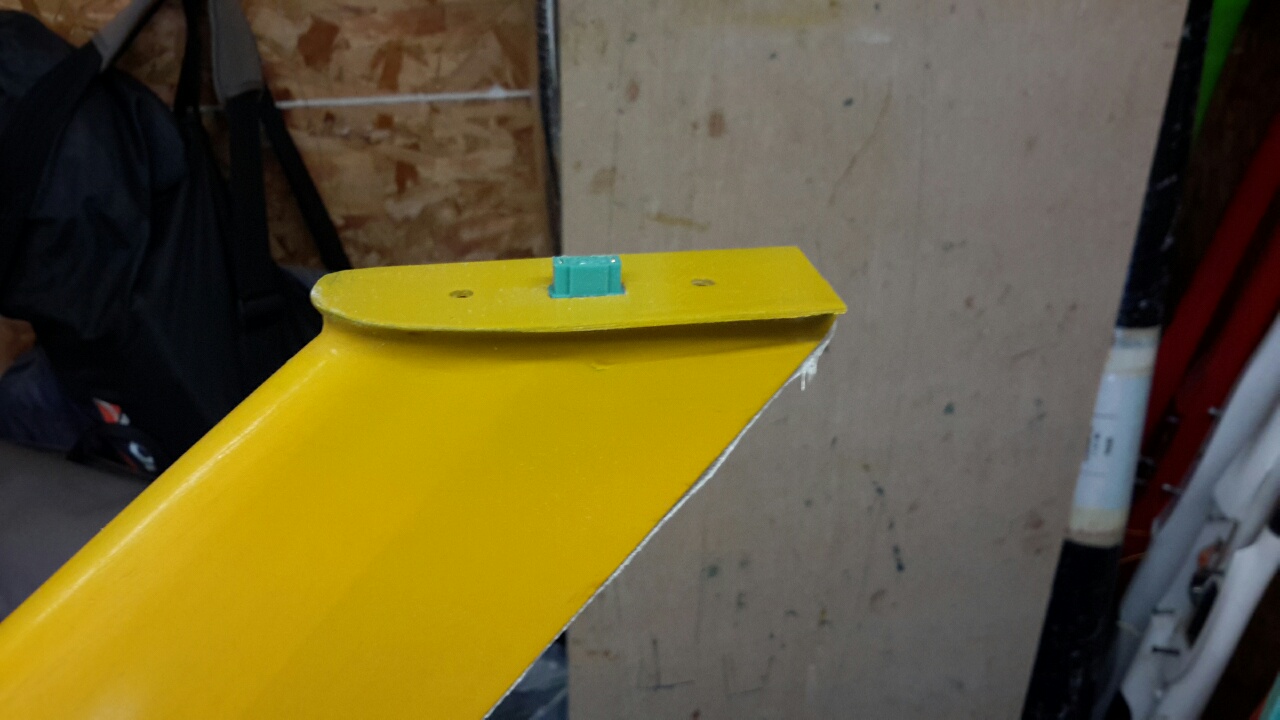
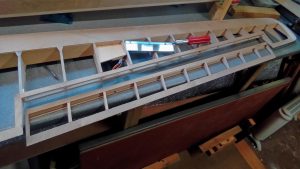
A bit more progress: The full size had a all flying tailplane, I was going to do the same, but with such a small bearing width 19mm, and a tailplane at 900mm, I couldn’t stop the tailplane wobbling, at the tip, well not enough for me.
Not a problem, fix the tailplane and have a elevator, so I measured and cut out the elevator, problem no2; the elevator was going to be top hinged, 15mm at the center, tapering to 3mm at the tips. It gave a nice curve, OK when on the center line, but when you try to go down or up, the tips want to move away from the tailplane.
Plan C; split the elevator in the center, and operate with 2 servos, or make a new elevator with the top surface level, went with a split elevator.
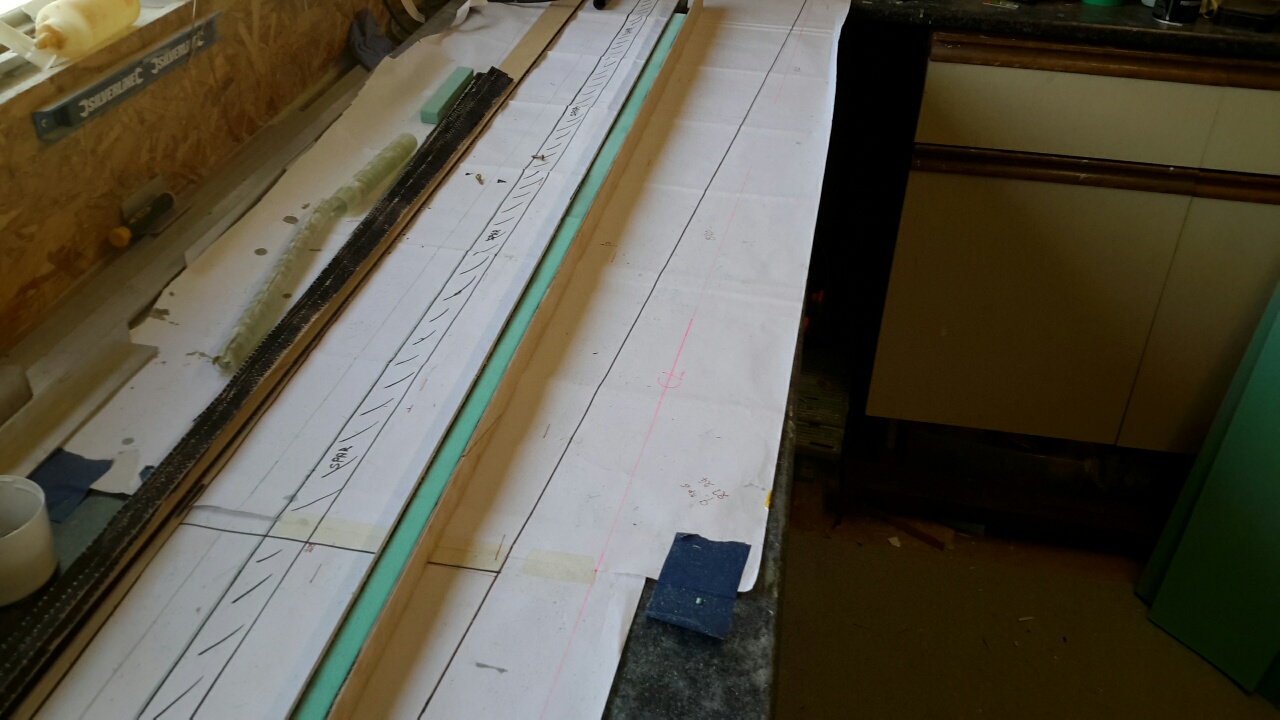
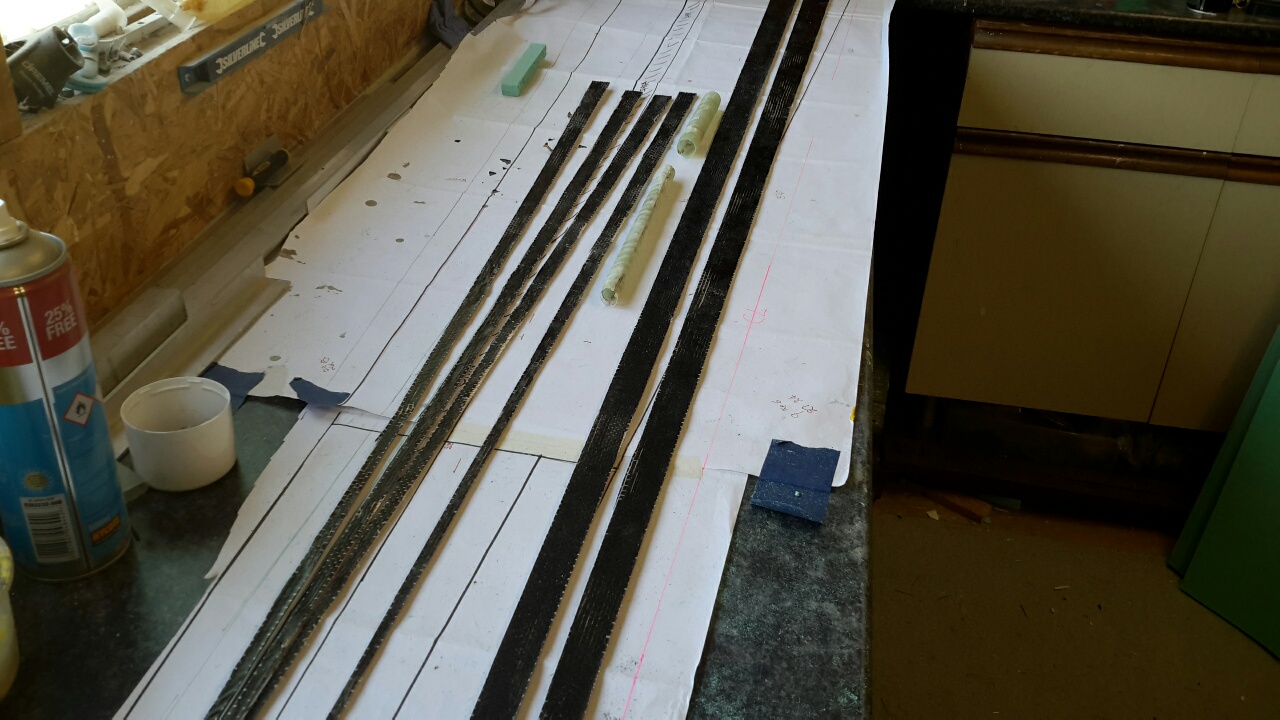
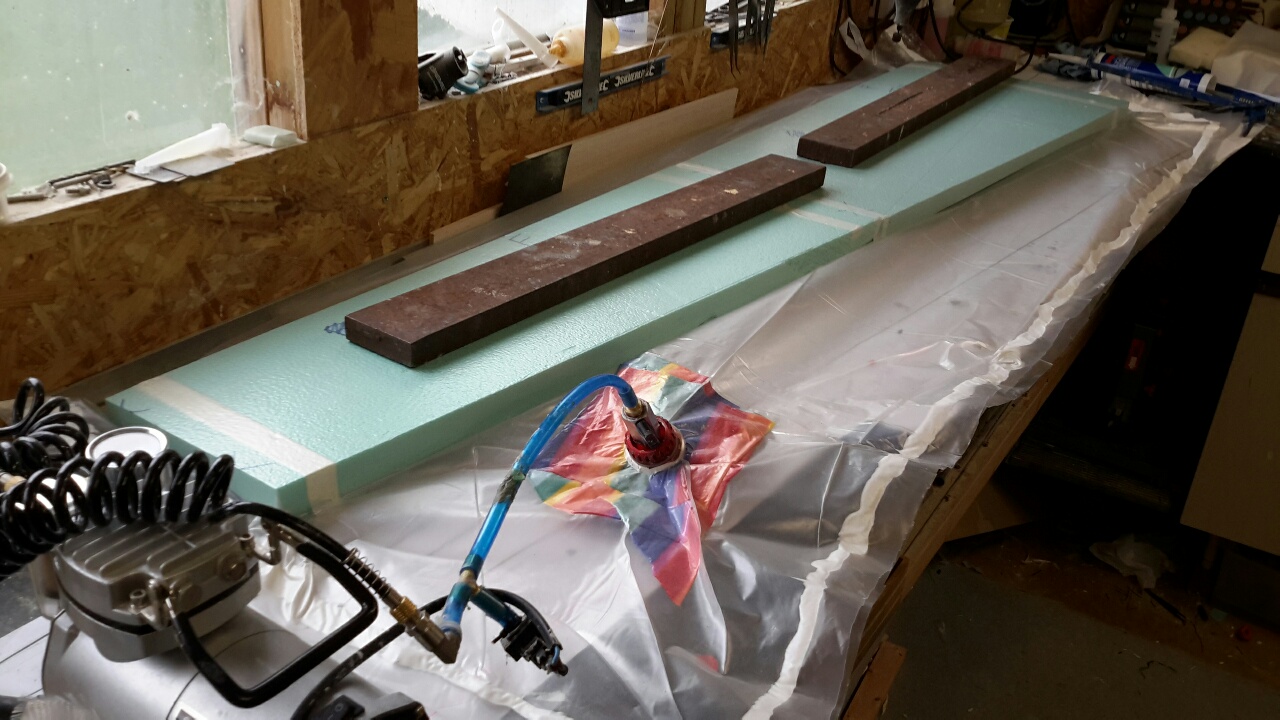
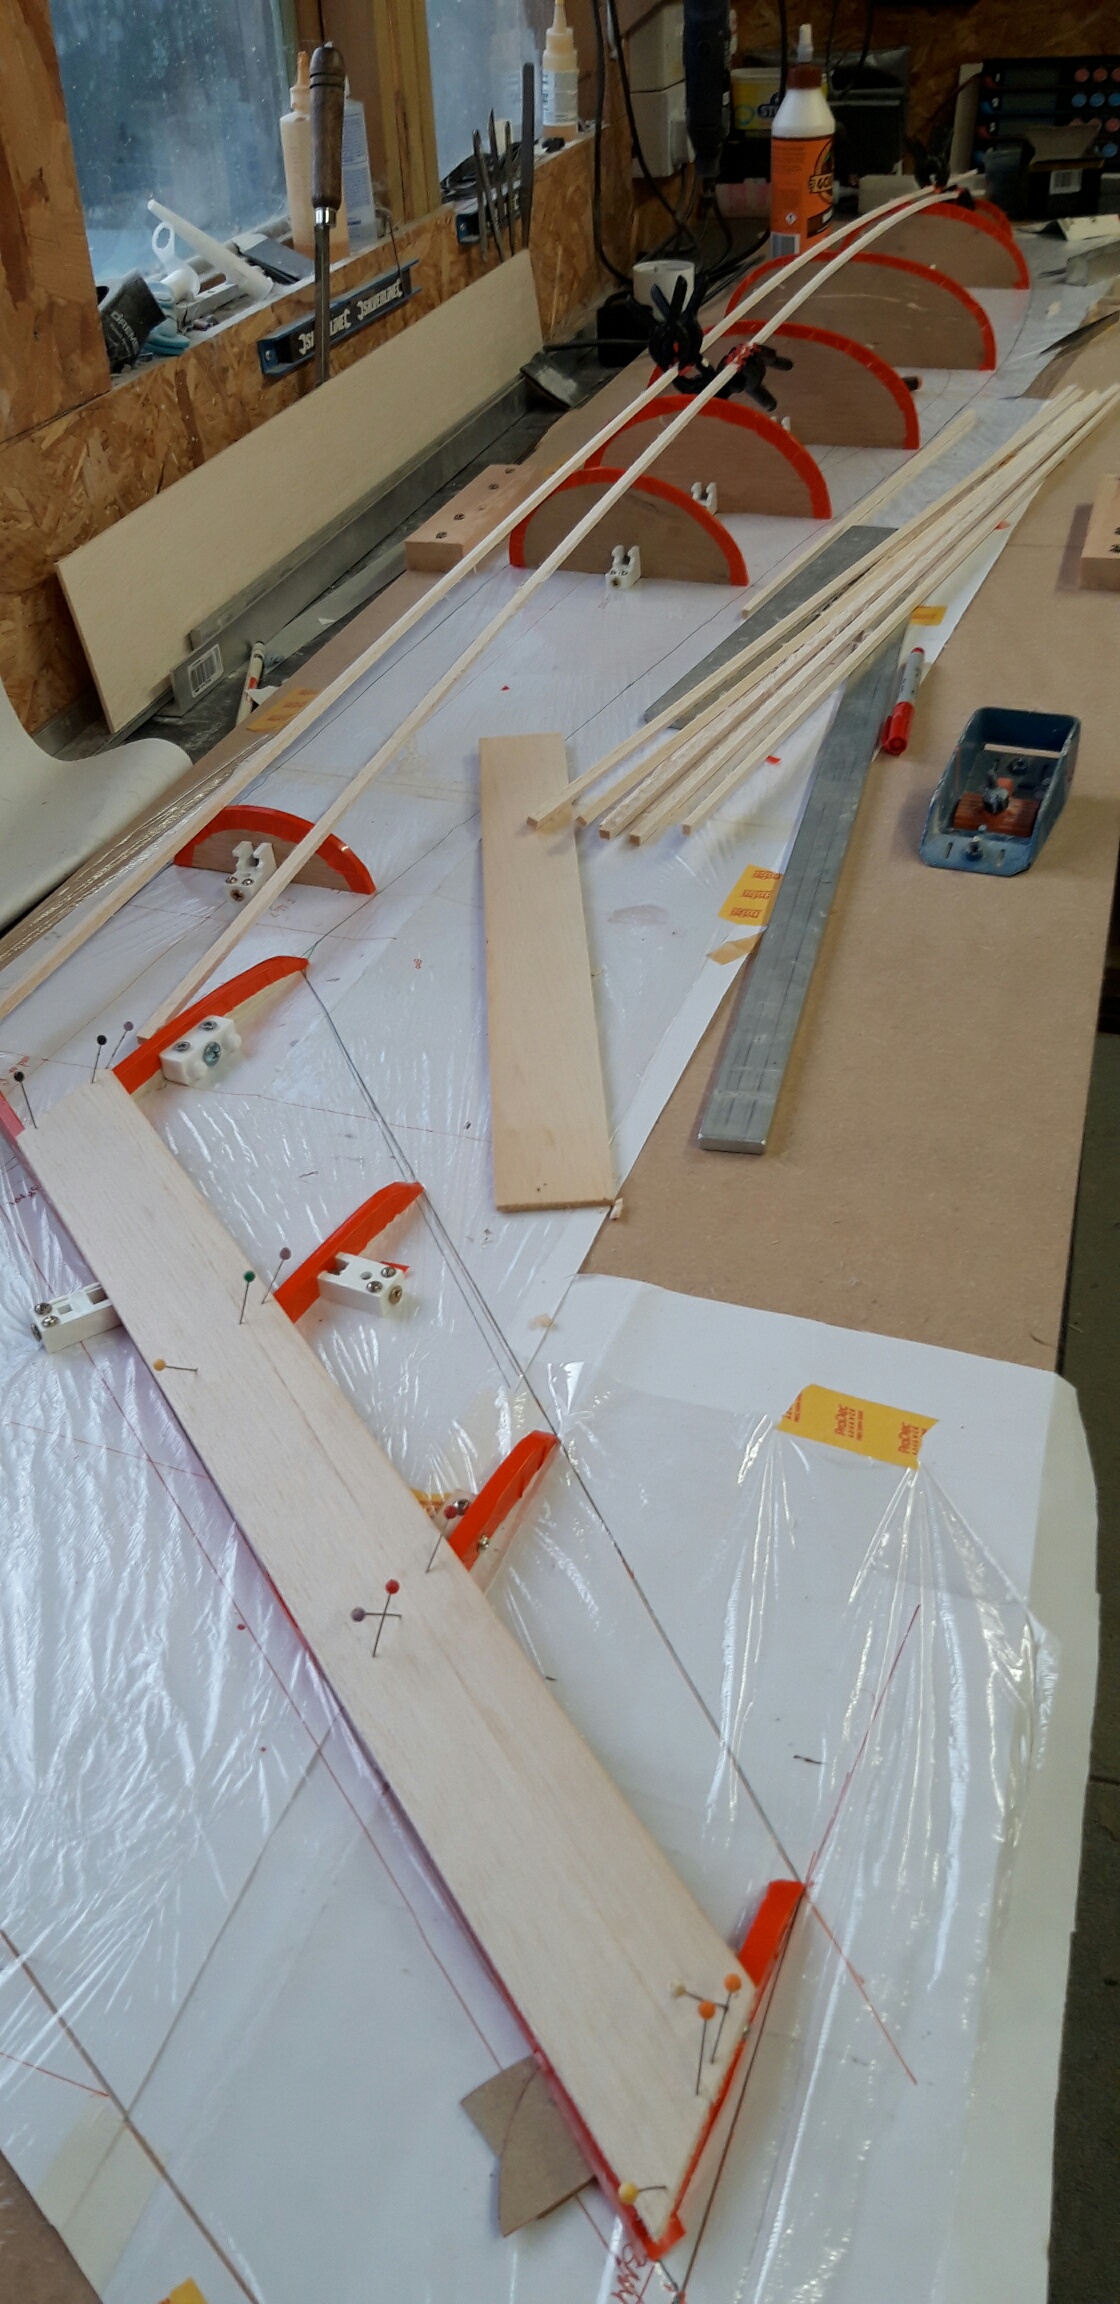
I have made the wing spars, 2mm ply with carbon on one side, a center foam core, then carbon toes laid on top of the foam, top & bottom. The spar was then glued into the foam cores, balsa was then glued on top of the toes, so that this could be sanded down to the wing profile. Glass cloth was placed on the foam with epoxy, obechi verneer, placed on top, then epoxy brushed on top of the veneer, then tissue paper placed on the wet epoxy, mylar sheet then placed on top, and the whole lot placed in a vacbag.
Check out the photos
Chris
Some more intriguing photo’s from Chris
A bit more progress: The full size had a all flying tailplane, I was going to do the same, but with such a small bearing width 19mm, and a tailplane at 900mm, I couldn’t stop the tailplane wobbling, at the tip, well not enough for me.
Not a problem, fix the tailplane and have a elevator, so I measured and cut out the elevator, problem no2; the elevator was going to be top hinged, 15mm at the center, tapering to 3mm at the tips. It gave a nice curve, OK when on the center line, but when you try to go down or up, the tips want to move away from the tailplane.
Plan C; split the elevator in the center, and operate with 2 servos, or make a new elevator with the top surface level, went with a split elevator.
I have made the wing spars, 2mm ply with carbon on one side, a center foam core, then carbon toes laid on top of the foam, top & bottom. The spar was then glued into the foam cores, balsa was then glued on top of the toes, so that this could be sanded down to the wing profile. Glass cloth was placed on the foam with epoxy, obechi verneer, placed on top, then epoxy brushed on top of the veneer, then tissue paper placed on the wet epoxy, mylar sheet then placed on top, and the whole lot placed in a vacbag.
Check out the photos
Chris
If some newspapers are to believed, we could be facing power cuts when energy staff go off sick. Most of us have an increasing dependence on our laptops and smartphones to keep in touch with friends, families and news. Typically, phones will need a recharge after a day and a laptop possibly after 3 -7 hours. however, not all is lost with enterprising modellers as many phones and laptops can be powered from a USB lead.
Our cars will have a 12v accessory socket – I still call it the cigar lighter socket

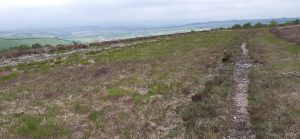
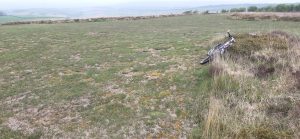 I had a cycle up to “The field” on Monday and was pleased to see that is still in good condition. With the reduced motor traffic about, I didn’t see any evidence of the trail bikes about. I didn’t see any walkers or dogs either. The gorse is still very cropped back and although the strip has grown slightly, it is ready for flying as soon as we get the release from lock-down.
From John.
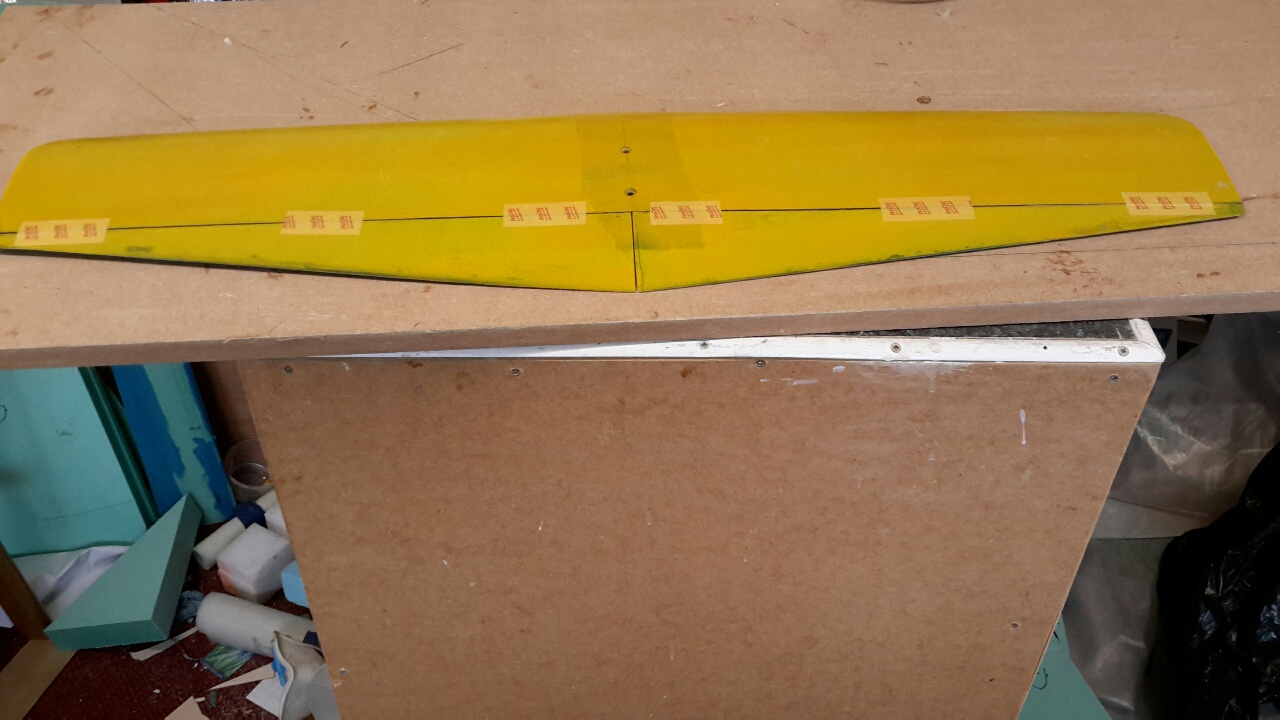
Ailerons have now been cut out having been built in with the main wing structure. There is a clear gap to cut to and it was a simple job. Then the open structure at cut edges is covered with 0.4 ply again straight forward. The aileron horns were cut per plan from hard 2mm fibre board and slotted neatly on the spar with epoxy.
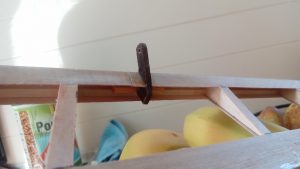
PS: John; where do those melons and potatoes in the background go. Are you building a transport glider to drop food off for the shielded? 🙂